So what’s the best way to hide your Facebook status from one person or a specific set of friends? The best way in my opinion is to use the privacy controls while you are actually creating the status update. In this article, I’ll show you how to control the privacy of a single status update and all future status updates too.
Single Status Update
Since you’ll probably only be restricting your status updates some of the time, the simplest solution is to click on the little privacy control button at the bottom right of the status update window.
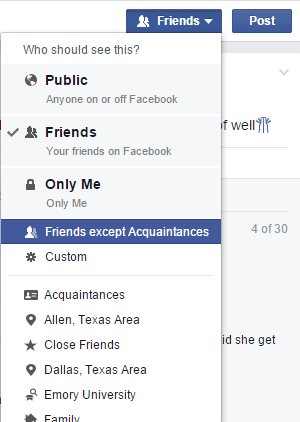
The privacy control will be set to whatever is your default option for who can see your Facebook status updates. In my case, my default setting is only Friends. If you want to change this for a particular post, go ahead and click on the down arrow.
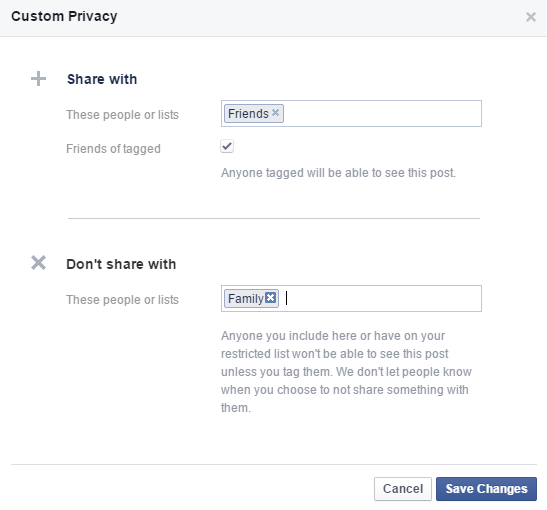
At the top, you’ll get three main choices: Public, Friends and Only Me. Below that you get more options like Friends except Acquaintances and then Custom. Below those options, Facebook will give you some custom lists that it creates on its own. In my case, it gives me options for friends who live in certain areas, my family, close friends, friends who’ve gone to the same school as me, etc. If you already have a list and you want only those people to see your status, just select the list and you’re good to go. In order to exclude someone or an entire list, you have to click on Custom. This will bring up the Custom Privacy popup window.
Here you can edit exactly who you want to share or not share the status update with. In my example above, everyone will see my post except the people in the Family list. You can type in individual names or pick from your lists. Click Save Changes and you’re good to go. So is there any way for someone to find out that you hid a post from them on Facebook? Well, Facebook does not let the person know, unless you happen to tag them! So make sure you don’t tag a person you are trying to hide your status from. In addition, even if the person you tagged is friends with a person you hide the post from, the latter will not be able to see it on the former’s wall or in their own news feed. From a technical standpoint on Facebook, the excluded people will have no way to know that you posted the status update. Obviously, if someone mentions it outside of Facebook, you might be in trouble!
Future Status Updates
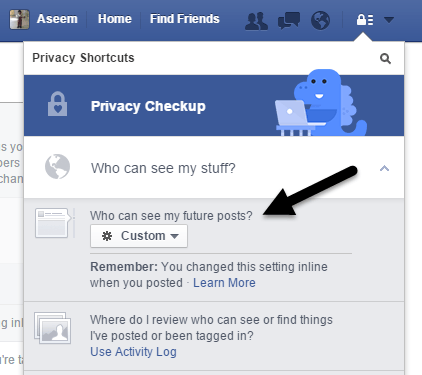
Once you change the setting inline while posting a status update, Facebook assumes you’ll want to continue doing this. If you go to post another status update, you’ll see it still says Custom instead of whatever it was earlier. You can also check this setting under the privacy settings in Facebook. Go ahead and click on the little lock icon at the top right.
Then click on Who can see my stuff? to expand those options. Under who can see my future posts?, go ahead and click on the box and choose Custom. In my case, it was already set to Custom since I had just posted a status update with custom privacy settings.
Create Facebook Lists
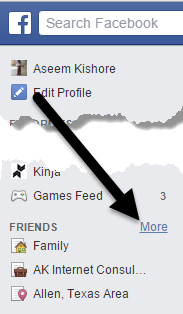
The pre-created lists created by Facebook are useful, but sometimes you need to create a list that is for a specific set of people not already in a list. To do this, you have to go to your main News Feed and then hover your mouse over Friends in the left sidebar until you see More.
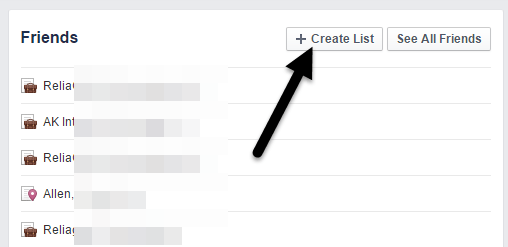
Now you’ll see all of your lists. At the top, you can click on Create a List.
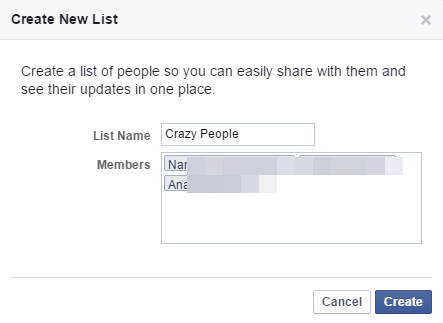
Give you list a name and start typing names to create the list. Click the Create button and it’s as simple as that!
Now you can use this list in various settings across Facebook that allow lists. Hopefully, this helps you control the privacy of your Facebook status updates. Make sure to read my other posts on about Facebook like how to hide your online Facebook status, update Facebook status via text message, and how to hide from one Facebook friend from another. Enjoy!

