Over time, the volume of accumulated dust increases inside the PSU, and it may hamper the air intake of the PSU fan. As a result, the power supply may heat up and burn out. So, the power supply unit also needs cleansing once in a while. In this guide, we are providing the complete steps to clean the PSU from the start.
How to Clean a Power Supply Unit?
The Power Supply Unit is located in the corner and consists of several wires, making it quite difficult to access directly from the casing. So, we have provided the steps to remove them for complete cleaning of each part inside it.
Remove Cable Connections and Side Panel
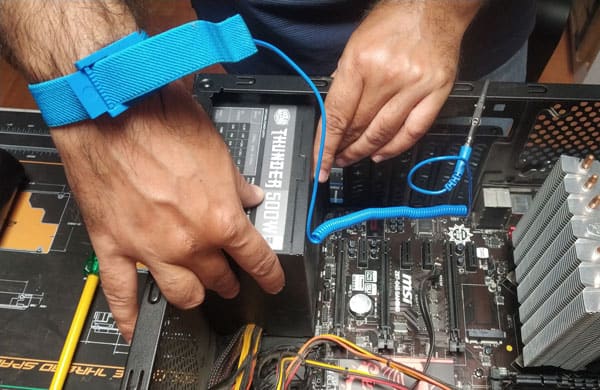
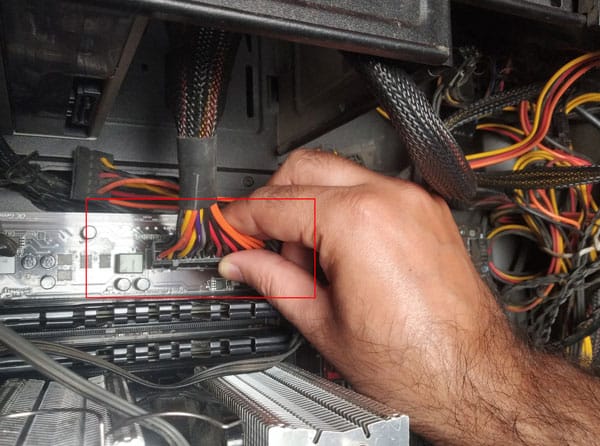
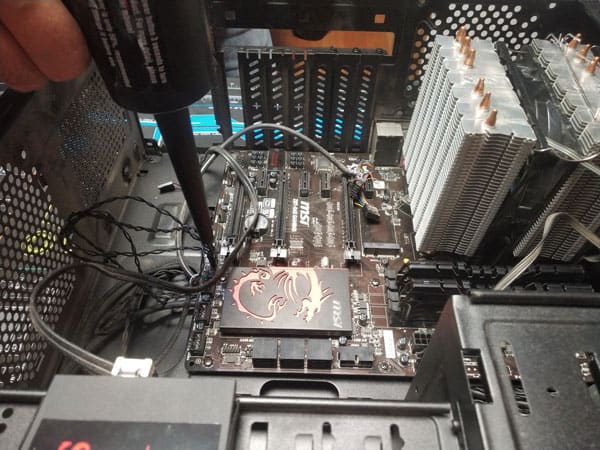
The first thing to do is to disconnect all the connections from the PC to facilitate easy removal of the Power supply unit.
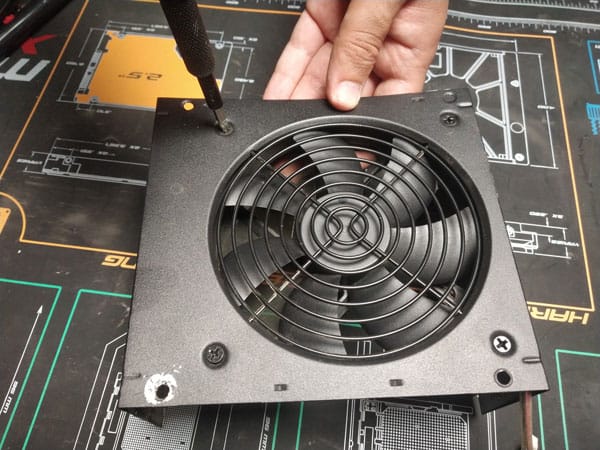
Remove and Disassemble the Power Supply Unit
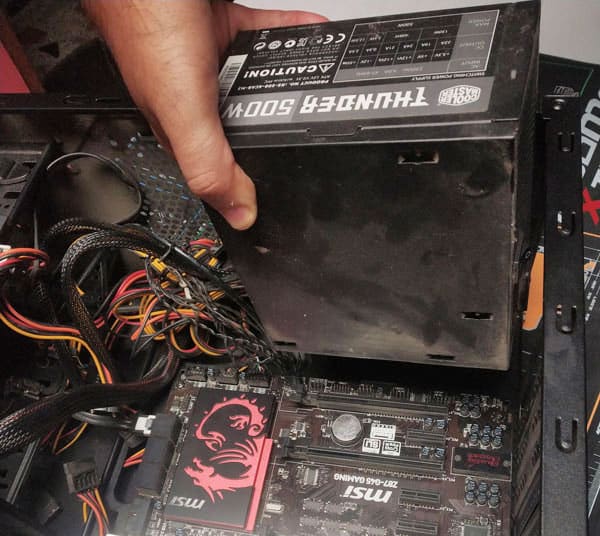
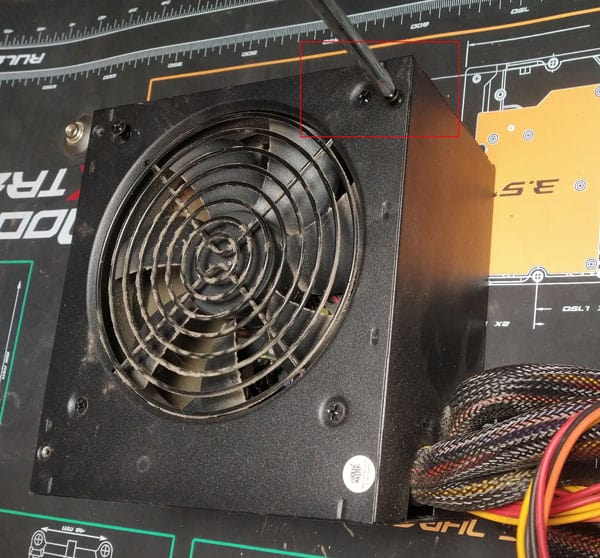
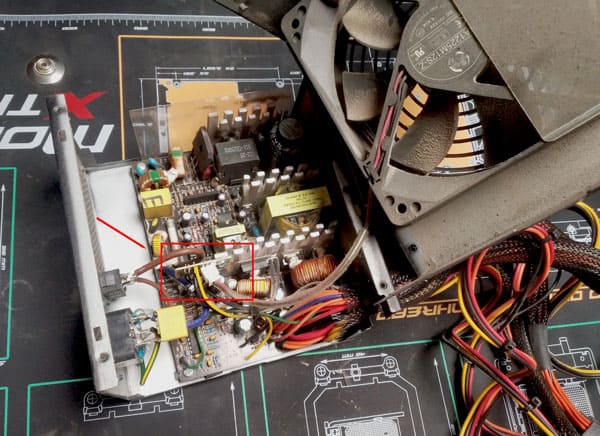
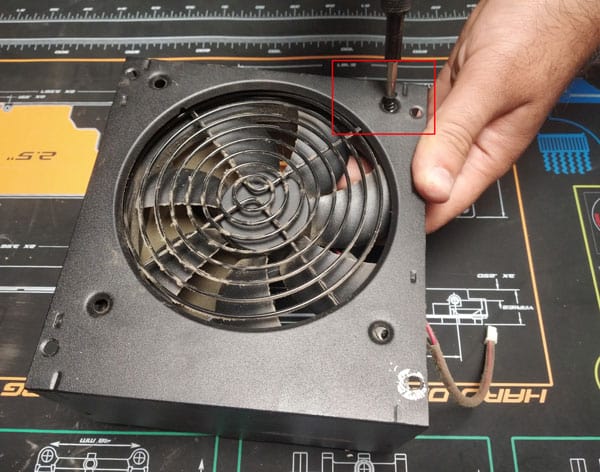
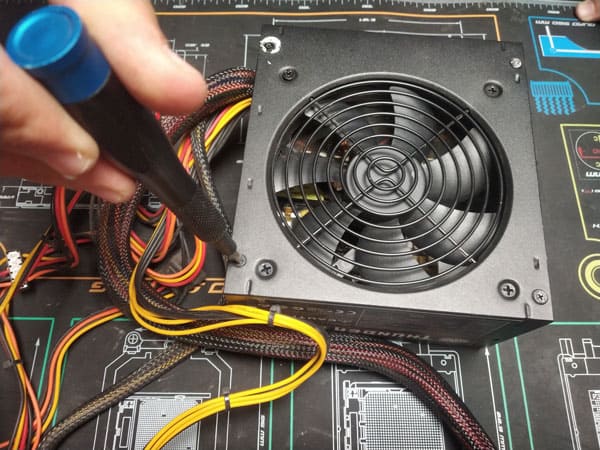
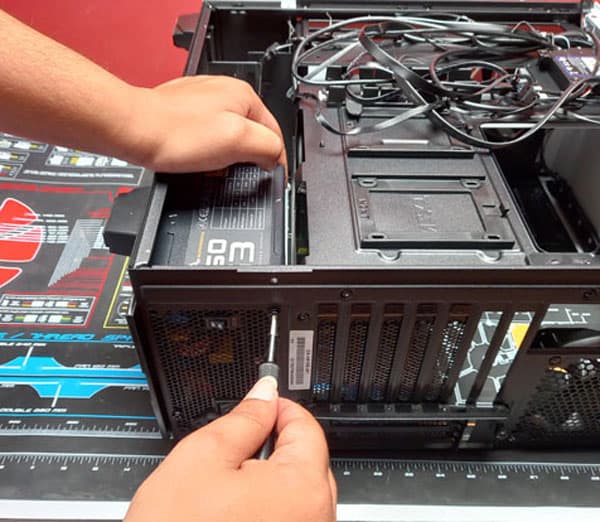
It is quite difficult to clean the PSU while it is attached to the casing. Also, the dust will get collected inside the casing, which will only create extra work. So, you should remove the power supply unit from the casing. If the PSU has not accumulated much dust, you can clean it without disassembling the power supply unit. So, the steps given below are optional for such a condition.
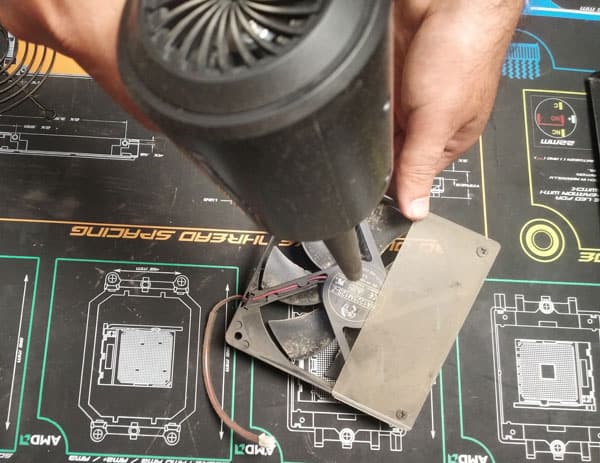
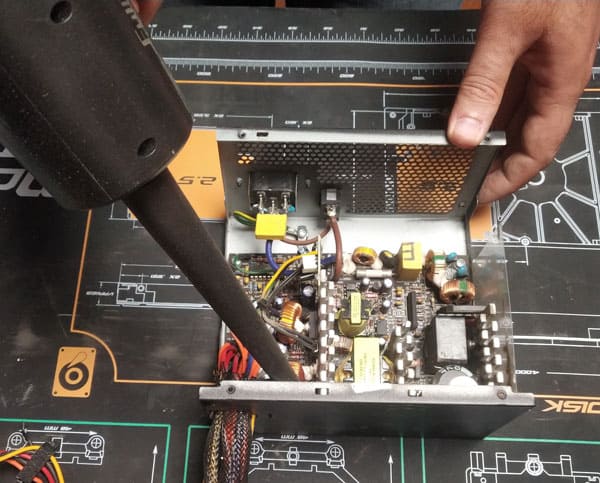
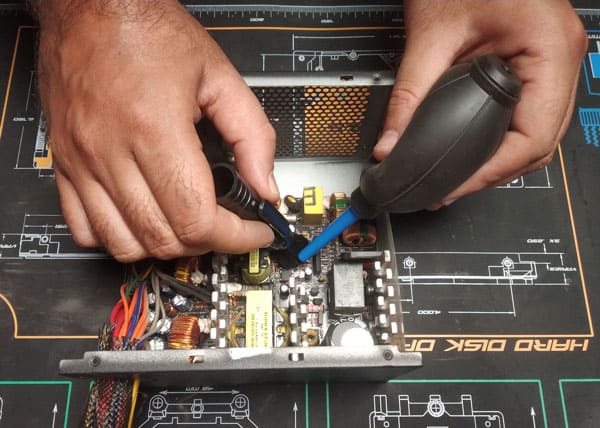
Use Blower or Compressed Air
Now we are ready to clean the power supply unit. As we mentioned earlier, if your PSU does not have much dust, you can clean it without tearing it apart. You should get a probe or stick and insert it in between the fan blade. This will prevent the fan from rotating while cleaning. Now, the cleaning process is almost the same for both disassembled PSU and the intact one.
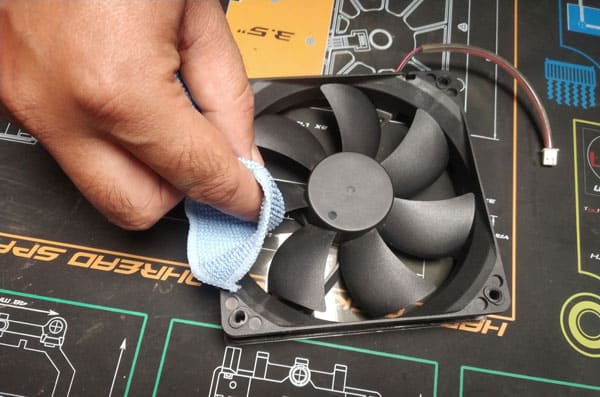
Use Brush and Microfiber Cloth
Now that you have removed the dust from the surface, let’s use a brush or microfiber cloth to wipe off the remainder.
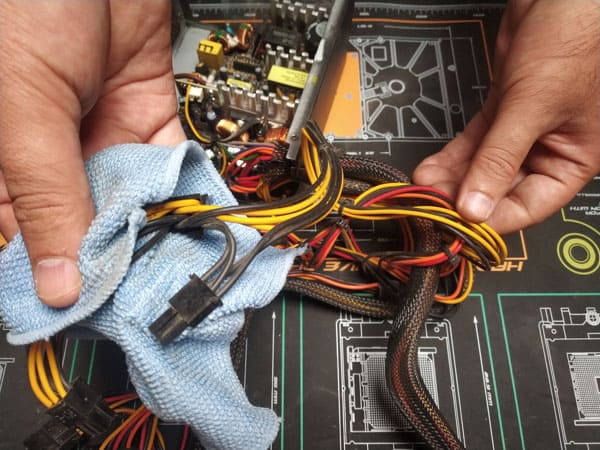
Clean the Cables, Motherboard, Hardware, and Casing
Before putting the clean PSU inside the casing, you should clean the rest of the components as well.
Reassemble All the Components Back
Now, it is time to reconnect all the components.
