Generally, laptops and mobile phones come with a built-in Wi-Fi card. Even some application-specific chips, such as Microcontrollers and System-on-a-Chip, constitute a Wi-Fi module. However, you may have to install an internal or external Wi-Fi card in the desktop computer to connect to wireless internet. Not only this, you may want to use a Wi-Fi card to improve the signal and coverage of your current network card or laptop. So, in this guide, we are explaining every step to follow while installing an internal or external Wi-Fi card on your desktop as well as a laptop computer.
How to Install Wi-Fi Card on Desktop?
Here are the steps you need to follow to install the Wireless Network Card on a Desktop computer.
Remove the PC Cover
As the slot to insert the card lie inside the PC casing, you will have to get to it first by removing the casing’s side cover.
Find the Slot to Insert the Card
Almost all the Wi-Fi or Network cards use PCI-e slot inside the PC. And you can find a number of PCI-e slots. So, you will need the find the right slot to insert the card and prepare it for installation.
Install the Wi-Fi Card
Now, it’s time to install the Wireless Network card into the slot.
Install the Driver
The Wi-Fi card will not work until you install its driver on your PC. So, here are the ways to do it. If the Wi-Fi card does not show up, there may be issues with the installation. You can repeat the process and re-insert the card into the slot. To save the hassle, you can run the computer before assembling the back cover and see if the card is detected.
How to Re-install Wi-Fi Card in Laptop?
A laptop has an in-built Wi-Fi card inside it. However, if it gets damaged, you will want to replace it with a new one. But some laptops have Wi-Fi cards directly soldered to the motherboard. If that is your case, then you are out of luck here. Nevertheless, if your Wi-Fi module is replaceable, here are the ways to do it.
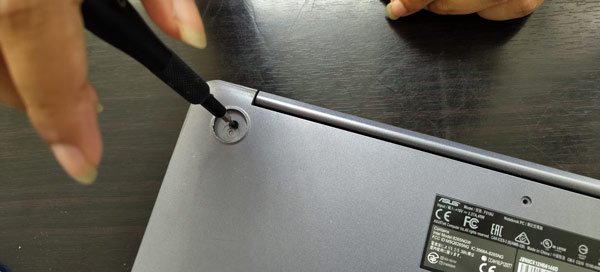
Disassemble the Laptop’s Cover
Let’s remove the laptop’s cover to get to the motherboard and the space where the Wi-Fi card needs to be placed.
Remove the Old Wi-Fi Card and Insert the New One
If you have an old Wi-Fi card installed, you will have to remove it first. Let’s go through the steps to remove the old one and install the new Wi-Fi card on your laptop. After you have installed the Wi-Fi module, you will have to install the driver on your laptop through the CD or by downloading manually from their website.
How to Install a USB Wi-Fi Card?
Using a USB Wi-Fi card is much simpler. You can simply connect the USB network card to the USB port on your laptop or desktop. And install its driver from the given CD. In some network cards, the driver even gets installed automatically once you insert it into your PC. However, the range of a USB Wi-Fi card is usually weaker than the internal network card. If your USB adapter has antennae, you can set it up in an open area using a USB hub to get a better range.


